일렉트론으로 프로그램을 만들 후에 계속해서 업데이트 작업을 진행하는데 그 때마다 새로 설치파일을 사용자에게 주는 것은 너무나도 비효율적이라고 할 수 있습니다. 또한 잘못 코딩한 프로그램이 배포되면 보안적인 문제를 겪는데 그 설치파일을 이용해서 계속해서 잘 못 작성된 코드를 활용할 수도 있을 것입니다. 그래서 electron에서는 auto-updater라는 것을 제공합니다.
www.electronjs.org/docs/api/auto-updater
autoUpdater | Electron
Enable apps to automatically update themselves.
www.electronjs.org
electron 공식 문서에서도 나와있는 내용이지만 조금 한국인이 알아듣기 쉽게 정리를 해보겠습니다.
1. 우선 자신의 electron 프로젝트에 main.dev.ts 또는 main.ts에 코드를 추가해주어야 합니다.
github.com/electron-react-boilerplate/electron-react-boilerplate
electron-react-boilerplate/electron-react-boilerplate
A Foundation for Scalable Cross-Platform Apps. Contribute to electron-react-boilerplate/electron-react-boilerplate development by creating an account on GitHub.
github.com
저는 위의 보일러 플레이트를 이용하여 main.dev.ts를 아래와 같이 수정하였습니다.
/* eslint global-require: off, no-console: off */

/**
 * This module executes inside of electron's main process. You can start
 * electron renderer process from here and communicate with the other processes
 * through IPC.
 *
 * When running `yarn build` or `yarn build-main`, this file is compiled to
 * `./src/main.prod.js` using webpack. This gives us some performance wins.
 */
import 'core-js/stable';
import 'regenerator-runtime/runtime';
import path from 'path';
import { app, BrowserWindow, dialog, shell } from 'electron';
import { autoUpdater } from 'electron-updater';
import log from 'electron-log';
import MenuBuilder from './menu';

export default class AppUpdater {
  constructor() {
    log.transports.file.level = 'info';
    autoUpdater.logger = log;
    autoUpdater.checkForUpdatesAndNotify();
  }
}

let mainWindow: BrowserWindow | null = null;

if (process.env.NODE_ENV === 'production') {
  const sourceMapSupport = require('source-map-support');
  sourceMapSupport.install();
}

if (
  process.env.NODE_ENV === 'development' ||
  process.env.DEBUG_PROD === 'true'
) {
  require('electron-debug')();
}

const installExtensions = async () => {
  const installer = require('electron-devtools-installer');
  const forceDownload = !!process.env.UPGRADE_EXTENSIONS;
  const extensions = ['REACT_DEVELOPER_TOOLS'];

  return installer
    .default(
      extensions.map((name) => installer[name]),
      forceDownload
    )
    .catch(console.log);
};

const createWindow = async () => {
  if (
    process.env.NODE_ENV === 'development' ||
    process.env.DEBUG_PROD === 'true'
  ) {
    await installExtensions();
  }

  const RESOURCES_PATH = app.isPackaged
    ? path.join(process.resourcesPath, 'assets')
    : path.join(__dirname, '../assets');

  const getAssetPath = (...paths: string[]): string => {
    return path.join(RESOURCES_PATH, ...paths);
  };

  mainWindow = new BrowserWindow({
    show: false,
    minWidth: 1550,
    minHeight: 728,
    icon: getAssetPath('icon.png'),
    webPreferences: {
      nodeIntegration: true,
    },
  });

  mainWindow.setMenuBarVisibility(false);

  mainWindow.loadURL(`file://${__dirname}/index.html`);

  // @TODO: Use 'ready-to-show' event
  //        https://github.com/electron/electron/blob/master/docs/api/browser-window.md#using-ready-to-show-event

  // mainWindow.once('ready-to-show', () => {
  //   mainWindow.show();

  //   mainWindow.webContents.openDevTools();
  // });

  mainWindow.webContents.on('did-finish-load', () => {
    if (!mainWindow) {
      throw new Error('"mainWindow" is not defined');
    }
    if (process.env.START_MINIMIZED) {
      mainWindow.minimize();
    } else {
      mainWindow.show();
      mainWindow.focus();
    }
  });

  mainWindow.on('closed', () => {
    mainWindow = null;
  });

  // const menuBuilder = new MenuBuilder(mainWindow);
  // menuBuilder.buildMenu();

  // Open urls in the user's browser
  mainWindow.webContents.on('new-window', (event, url) => {
    event.preventDefault();
    shell.openExternal(url);
  });

  // Remove this if your app does not use auto updates
  // eslint-disable-next-line
  autoUpdater.checkForUpdates()

  new AppUpdater();
};

/**
 * Add event listeners...
 */

app.on('window-all-closed', () => {
  // Respect the OSX convention of having the application in memory even
  // after all windows have been closed
  if (process.platform !== 'darwin') {
    app.quit();
  }
});

app.whenReady().then(createWindow).catch(console.log);

app.on('activate', () => {
  // On macOS it's common to re-create a window in the app when the
  // dock icon is clicked and there are no other windows open.
  if (mainWindow === null) createWindow();
});

// 업데이트 감지
app.on("ready", async() => {
  // createDefaultUpdateWindow();
  autoUpdater.checkForUpdates();
})

// 업데이트 오류시
autoUpdater.on('error', function(error) {
  console.error('error', error);
});

// 업데이트 체크
autoUpdater.on('checking-for-update', async () => {
  console.log('Checking-for-update');
});

// 업데이트할 내용이 있을 때
autoUpdater.on('update-available', async () => {
  console.log('A new update is available');
});

// 업데이트할 내용이 없을 때
autoUpdater.on('update-not-available', async () => {
  console.log('update-not-available');
});


//다운로드 완료되면 업데이트
autoUpdater.on('update-downloaded', async (event, releaseNotes, releaseName) => {
  console.log('update-downloaded');
  const options = {
      type: 'info',
      buttons: ['재시작', '종료'],
      title: '업데이트 중입니다.',
      message: process.platform === 'win32' ? releaseNotes : releaseName,
      detail: '새로운 버전이 다운로드 되었습니다. 애플리케이션을 재시작하여 업데이트를 적용해 주세요.'
  };
  const response = await dialog.showMessageBox(mainWindow, options);

  if (response === 0) {
      autoUpdater.quitAndInstall();
  } else {
      app.quit();
      app.exit();
  }
});
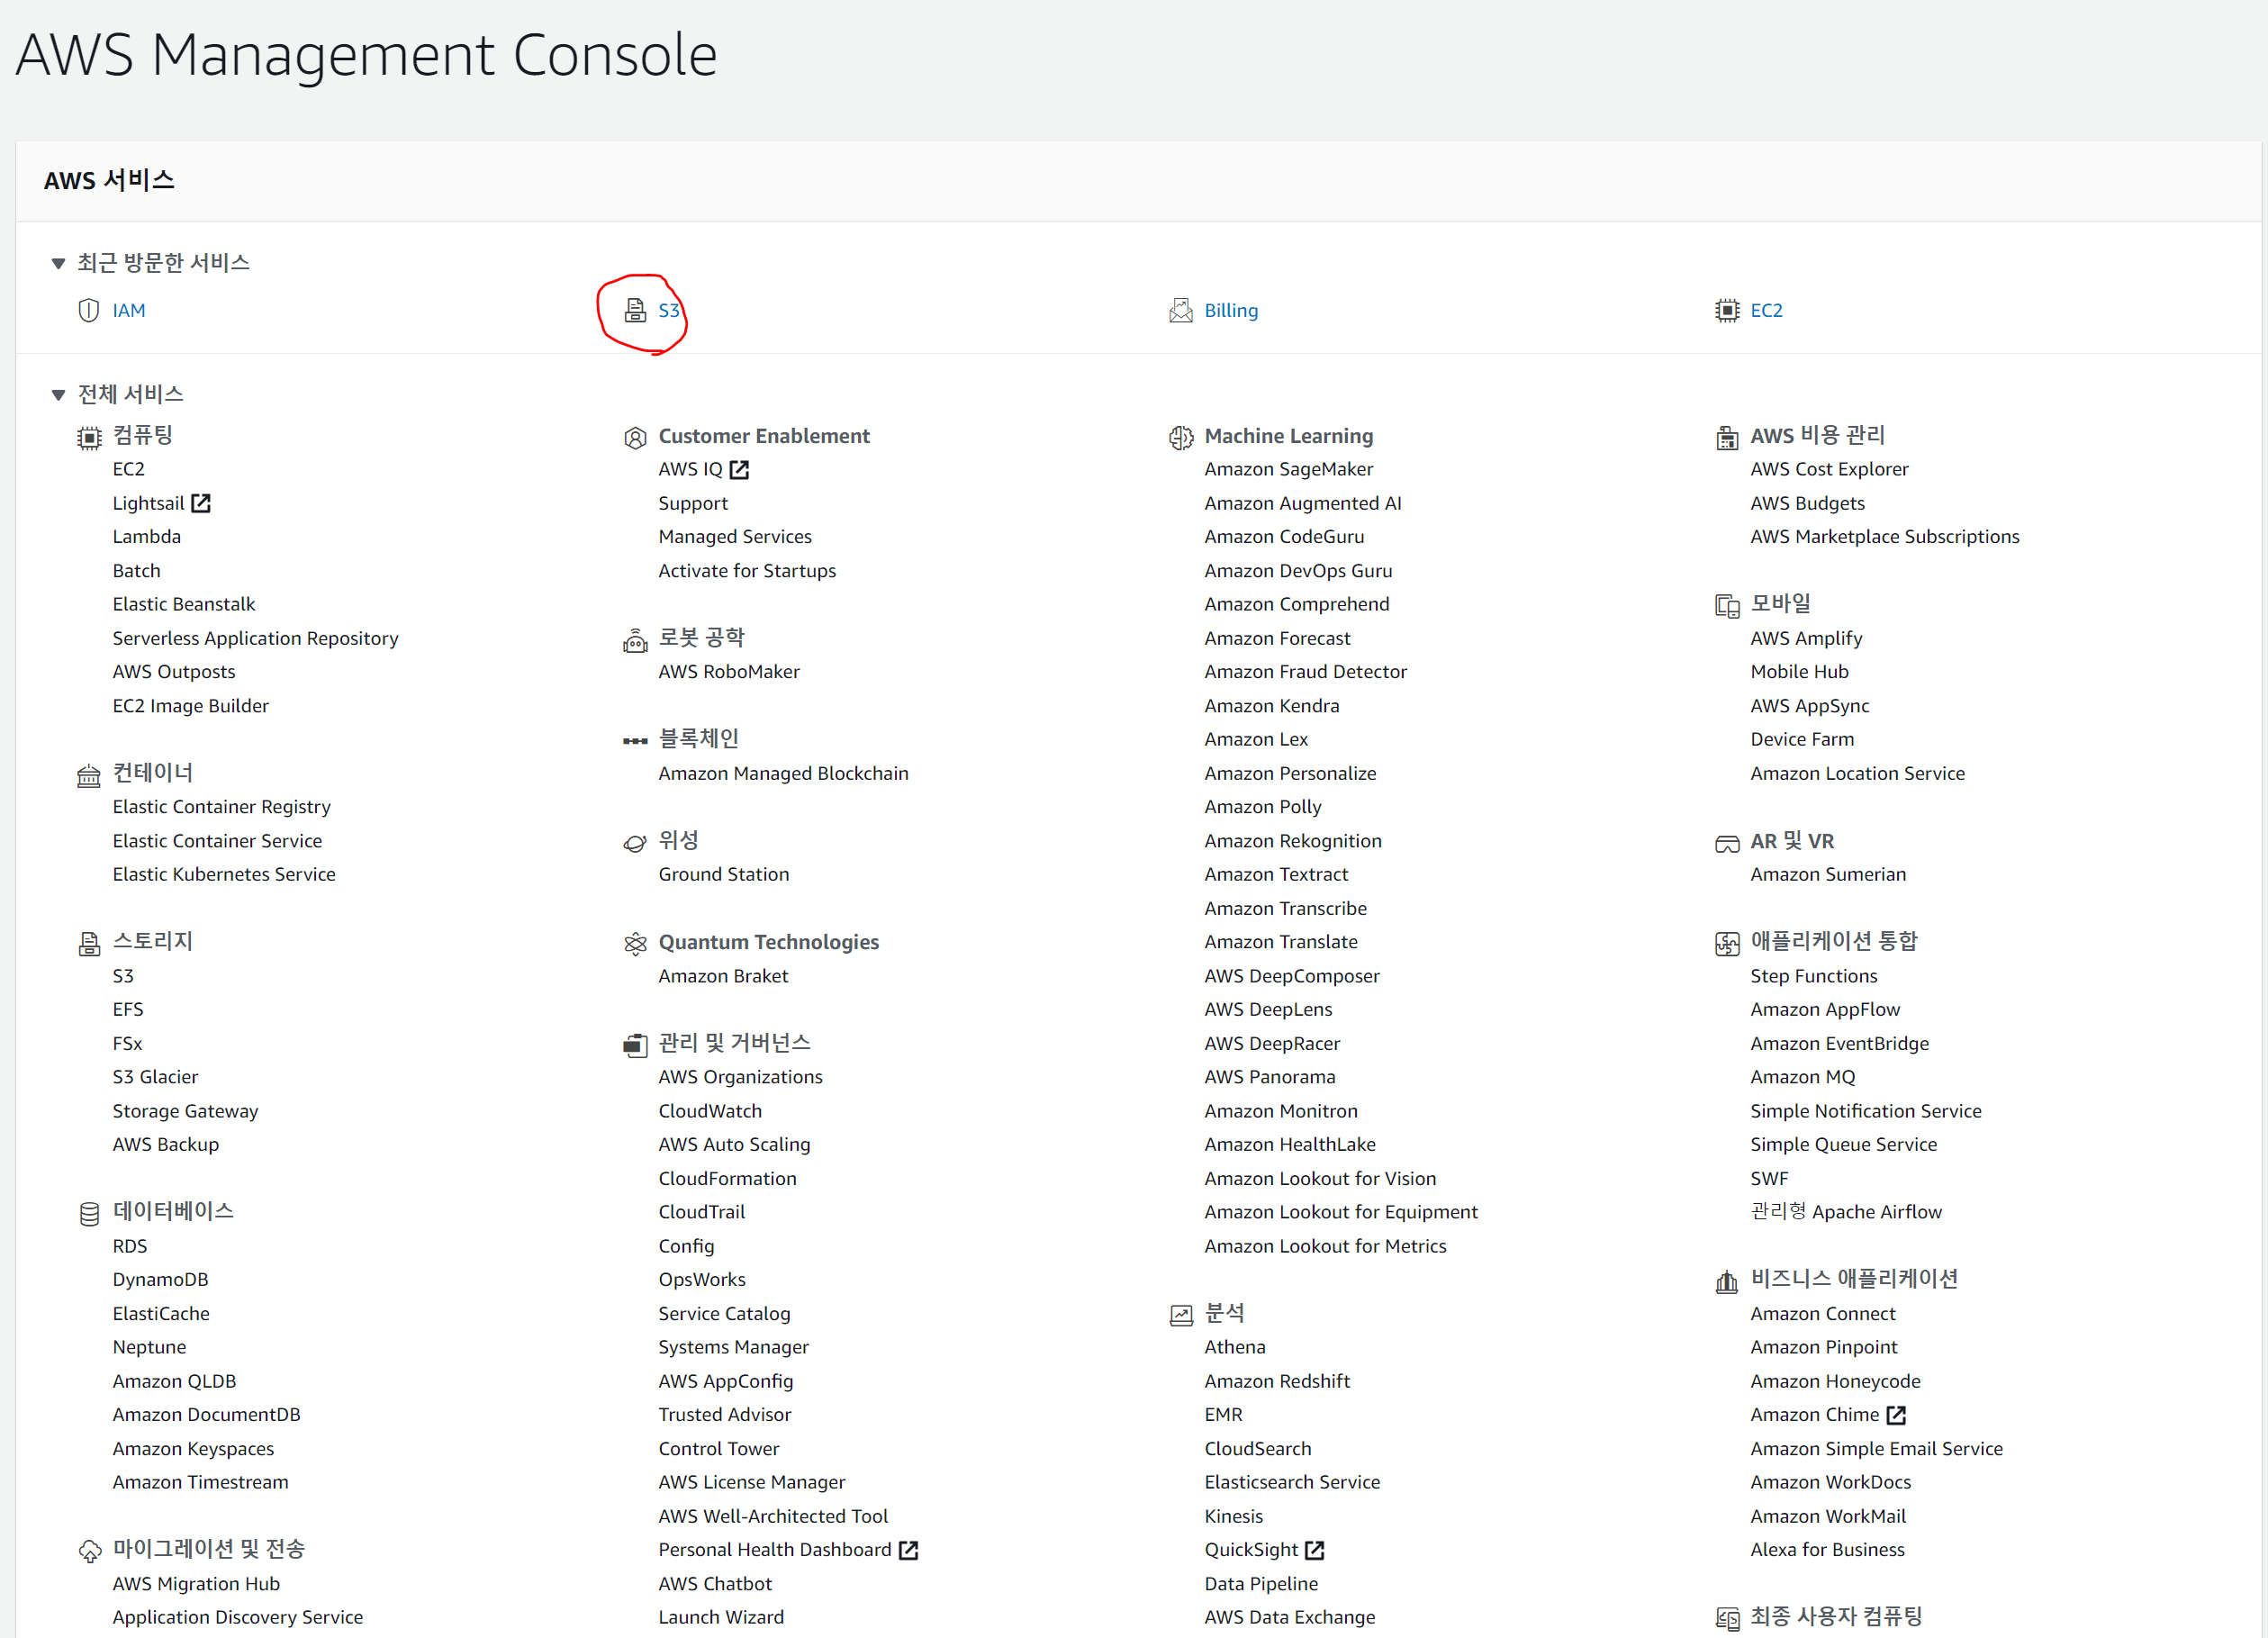
2. AWS-S3에 버킷을 만들어야 합니다.
github release를 이용하는 방법도 있지만 이렇게 저렇게 엄청 했는데 계속 안되서 서치를 계속해봤는데 github release는 설치파일이 50mb를 초과하면 업데이트를 받아오지 못하는 설정이 되어있어서 급하게 amazon-s3로 갈아탔습니다. 혹시나 깃허브로 릴리즈 업데이트를 진행하시는 분들은 업데이트 감지는 되지만 실제 다운로드가 안된다는 것을 알 수 있으실 겁니다. 제가 느끼기엔 이런 부분이 electron의 단점이라고 생각합니다.

버킷을 만드는 방법은 다른 블로그에도 자세하게 나와있고 특별한 것이 없으므로 바로 진행하겠습니다. 참고로 버킷이름은 고유이름으로 지정되며 해당 프로젝트에서는 모든 퍼블릭엑세스 차단을 비활성화 해주시면 됩니다. 그리고 정책 사항에 아래 사항을 추가해 주세요.
{
    "Version": "2012-10-17",
    "Statement": [
        {
            "Sid": "AllowAppS3Releases",
            "Effect": "Allow",
            "Principal": "*",
            "Action": [
                "s3:AbortMultipartUpload",
                "s3:GetObject",
                "s3:GetObjectAcl",
                "s3:GetObjectVersion",
                "s3:ListMultipartUploadParts",
                "s3:PutObject",
                "s3:PutObjectAcl"
            ],
            "Resource": "arn:aws:s3:::YOUR BUCKET/*"
        },
        {
            "Effect": "Allow",
            "Principal": "*",
            "Action": [
                "s3:ListBucket",
                "s3:ListBucketMultipartUploads"
            ],
            "Resource": "arn:aws:s3:::YOUR BUCKET"
        }
    ]
}
3. IAM에서 사용자키 만들기

IAM-액세스 관리-사용자-사용자 추가-프로그래밍방식엑세스 순서로 들어가서 사용자 키를 만들어주세요.
4. package.json에 publish 정보 넣기
최상위 package.json에서 bulid 부분을 찾아서 publish에 자신의 정보를 넣어주세요.
"build": {
    "appId": "org.erb.ElectronReact",
    "productName": "YOUR PRODUCTNAME",
    "publish": {
      "provider": "s3",
      "bucket": "YOUR BUCKET",
      "region": "ap-northeast-2",
      "acl": "public-read"
    },
그리고 같은 package.json에 script에 package-s3를 추가해주세요.
"package": "yarn build && electron-builder build --publish never",
"package-s3": "yarn build && electron-builder build --publish always",
위는 기존 packge 실행 스크립트입니다.
5. AWS-CLI configure에 키 추가하기
docs.aws.amazon.com/ko_kr/cli/latest/userguide/cli-chap-install.html
AWS CLI 설치, 업데이트 및 제거 - AWS Command Line Interface
이 페이지에 작업이 필요하다는 점을 알려 주셔서 감사합니다. 실망시켜 드려 죄송합니다. 잠깐 시간을 내어 설명서를 향상시킬 수 있는 방법에 대해 말씀해 주십시오.
docs.aws.amazon.com
버전 2를 받으신 후에 윈도우 환경에서 cmd 를 실행시켜주세요.
C:\Users\Administrator>aws --version
aws-cli/2.1.29 Python/3.8.8 Windows/10 exe/AMD64 prompt/off
아래 처럼 잘 설치되었는지 확인해주시고 아래와 같이 자신의 키를 추가해 주세요.

이렇게 추가되면 이제 해당 컴퓨터로만 업로드가 가능해집니다.
해당 프로젝트에서 yarn package-s3를 입력하시면 아래와 같이 패키지가 완료됩니다.

그리고 해당 s3 버킷에 들어가 보시면 exe파일, latest.yml파일, blockmap파일 이렇게 3가지가 올라가 있는 모습을 확인 할 수 있습니다. 실제로 latest.yml 파일이 프로그램의 버전을 확인해주는 역할을 합니다.
이제 package.json에서 버전을 업데이트 시켜준 후 yarn package-s3를 실행하시면 업데이트가 자동으로 되고 auto-updater가 자동으로 해당 버킷을 감지하여 업데이트를 진행하게 될 것 입니다.


